
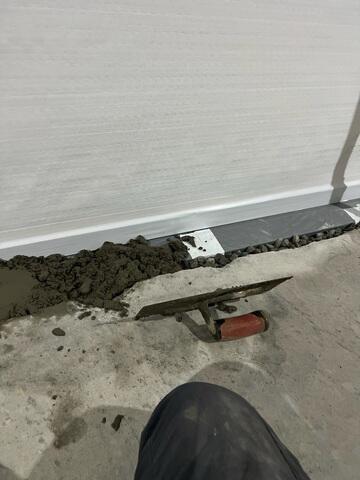
WaterGuard during installation
This picture is depicting how the WaterGuard is installed into the home. A section of the original concrete of the basement is dug out, and then the WaterGuard is placed. The gravel is surrounding the WaterGuard, because it allows the water to filter through, while filtering out any sediment that may cause a blockage in the WaterGuard. Our crew then places a thin layer of concrete back over the top of the WaterGuard so that it is not visible in the space. Once the concrete dries down, there will be no signs that changes were ever made, which allows for keeping up with appearances.
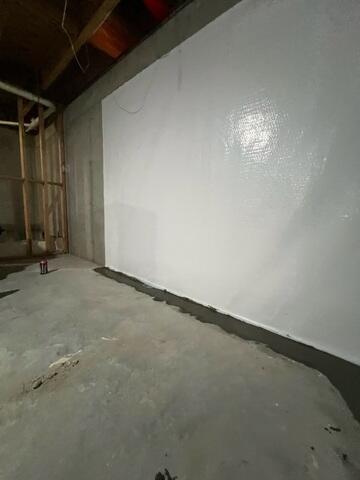
WaterGuard
This picture is provided as a visual for what the space will look like immediately after application. As stated previously, this layer of concrete that was placed will dry down, leaving everything blended together.
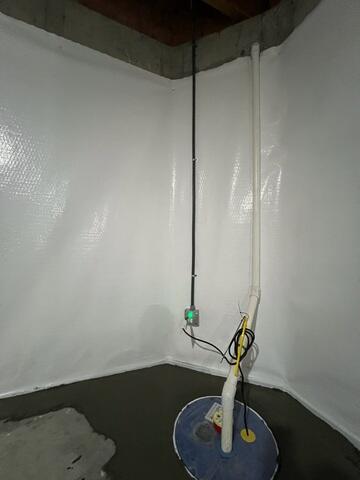
SuperSump sump pump
This is the SuperSump sump pump that was installed in this basement. All of the water that is draining behind the CleanSpace and through the WaterGuard is carried to this machine. This is what is pumping the water out of the area, and keeping the basement dry. This sump pump was equipped with the WaterWatch alarm, which will alert the homeowner if the water in the basement ever reaches a level at which the sump pump should have discarded it. This way the homeowner will always have the peace of mind of knowing that the equipment is working, and they will not have to worry with floods in the area.
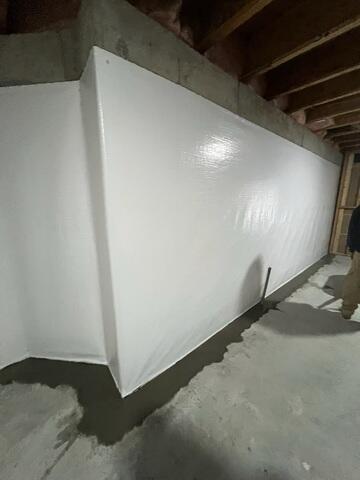
CleanSpace Wall System
The CleanSpace is installed onto the wall by fastening the material the rim joists of the foundation wall. It is a think white liner, that forces all of the water seepage into the WaterGuard. It works as a moisture and vapor barrier and also provides a bright white finish. Which in turn takes away from expenses when it comes to finishing out the basement space.
