
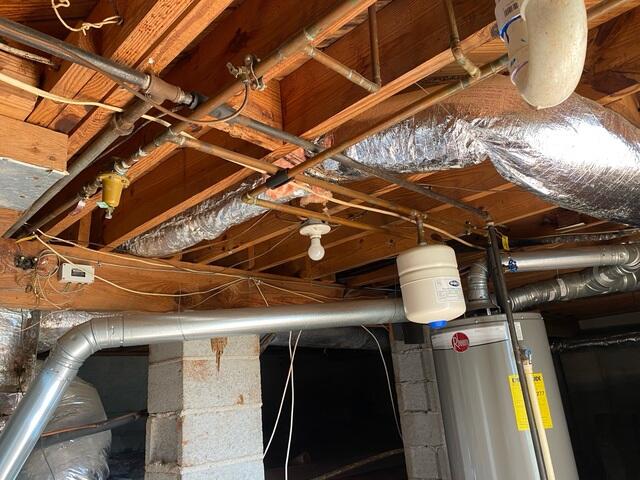
Pre- SmartJack Installation
This is what the space looked like prior to the installation of the SmartJacks. There is little stability, and the foundation is offset. This is why we wanted to install SmartJacks to add stability back into the foundation.

Wall and Ceiling Cracks
This is an example of the direct result of issues that came from this foundation settling. These are not wanted in a house, because not only do they not look good, but they also mean that the foundation of the home is not stable.
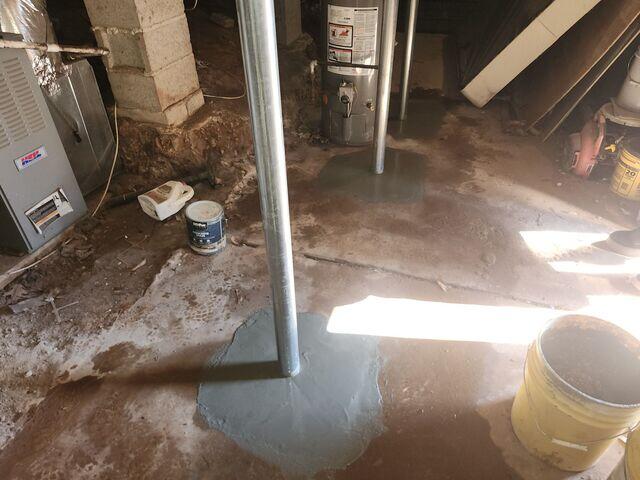
Up-close SmartJack Installation
This is what the SmartJack beams will look like in your home once they are installed. They are small poles, covered with a small amount of concrete to ensure that they are stabilized.
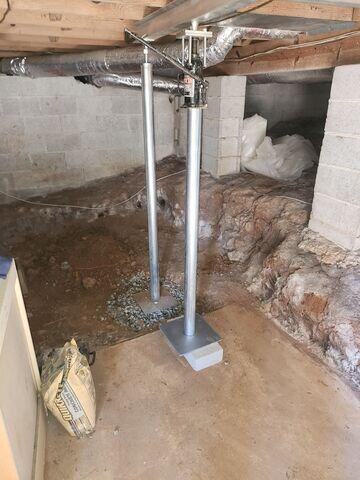
After full SmartJack Installation
This is the full installation with the SmartJacks and the supplemental I-beams. They are inconspicuous and do not take up much space, if you ever wanted to use the area for storage. They allow you to still keep the space of your home open, but also ensure that your foundation is stable, and you never have to worry about cracks in your walls again.
